


Rim Light is a strong light that hits the edge of the main subject of a photo. In a studio, photographers will use lights behind their subject which is brighter by one or two stops to create the rim light effect. Outdoors, the best way to create rim lighting is putting the Sun behind or to one side of your subject. Below are three examples of rim lighting. For each one, I used a flash unit or speedlight as a fill flash. If you don’t have a flash you can use for filling in the shadows, you can meter off the subject directly using spot metering.
While watching Captain Jack’s Pirate Tutorial in the Magic Kingdom, I caught the action of Captain Jack Sparrow and his young band of pirates in late afternoon sunshine. A perfect setup for creating rim lighted photographs.
The first one is subtle rim lighting with just a hint of it on some of Captain Jack Sparrow’s dreads. This was the end of the show when Jack exclaims, “Look! It’s the Governor’s daughter!”, before rushing off stage.

Subtle Rim Lighting.
Nikon D70/18-200VR, 1/125s, f/8, ISO 250, EV +0.3, 90mm focal length, flash at -1.0 power
The second one is strong rim lighting with very bright backlighting on Captain Jack Sparrow.

Strong Rim Lighting.
Nikon D70/18-200VR, 1/40s, f/5.6, ISO 200, EV +0.3, 200mm focal length, flash at -1.0 power
The last one is what I’d call just right rim lighting. Not to subtle and not too strong. Really shows the young guest having a ball with the rim lighting separating her from the background.

Just Right Rim Lighting.
Nikon D70/18-200VR, 1/125s, f/6.3, ISO 200, EV +0.3, 170mm focal length, flash at -1.0 power
Notice the shutter speed and aperture changes for each photo which I varied using my camera’s controls. This caused the different rim lighting affects along with the changes in the angle of the light as Jack and his recruits moved during the show.


Trending Now
TSA just banned an essential travel item from checked luggage!
Believe it or not, it is possible to make a day at EPCOT even better!
Don't forget about this change coming up for Disney World hotel guests!
Six Flags has just announced that they're CLOSING on of their theme parks entirely this...
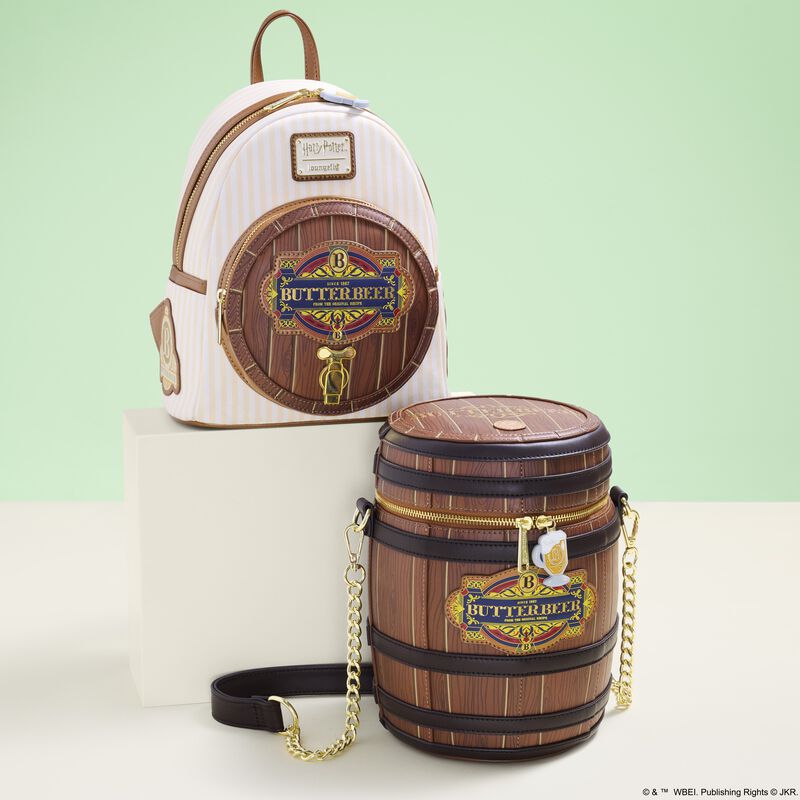
If you adore Butterbeer from Harry Potter as much as we do, these TWO new...
These Disneyland attractions will be closed for part of or all of May.
Each week, we search high and low for the best Disney deals on Amazon. Wanna...
We're sharing the hottest deals on LEGO sets on Amazon!
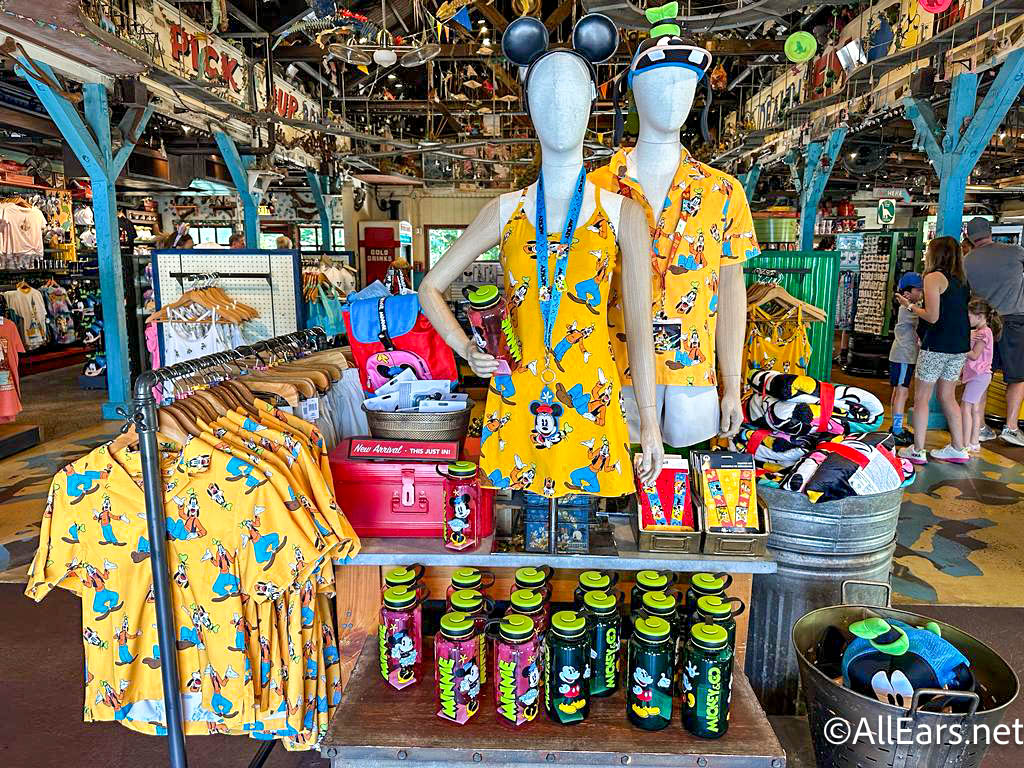
Need a new Disney tee? Get to Amazon NOW!
Only true Disney adults are packing these items for their Disney World trips!
By unanimous vote, the proposed Sunshine Corridor study is now fully funded.
The best upgrades available for Disney Cruise Line Passengers.
Epic Universe is amazing…but it does have a couple of flaws.
Here are a couple of things you'll want to get yourself because every Disney Adult...
We spotted three brand-new Disney Loungefly bags online, and one of them is already selling...
Every Disney adult is going to Amazon to buy their Disney park day shoes!
Let's talk about why every Disney Adult is buying an Oura Ring from Target right...
Many Disney guests don't realize they're breaking these rules.
These might be weird buys, but we aren't kidding when we say you'll need them...
A Universal x Minecraft experience is HERE!