


Looking for more funtastic things to do with your camera? How about creating a panorama by stitching together several photos. Not to worry, you don’t need a needle and thread.
This was my first attempt EVER at shooting in Panorama Assist mode so be gentle with me.
Reading is Fundamental
I read online about using Panorama Assist specifically on the Nikon Coolpix 7600. When you take your first shot, the camera automatically determines the f-stop (how much light is allowed through the lens) and the shutter speed (how fast the camera takes the photo) for the subsequential shots. This means if you take your first shot of something in the shade and then shoot in bright sunlight, your panorama will look like…THIS! (think of Large Marge in “Pee Wee’s Big Adventure”)
Getting the Shots
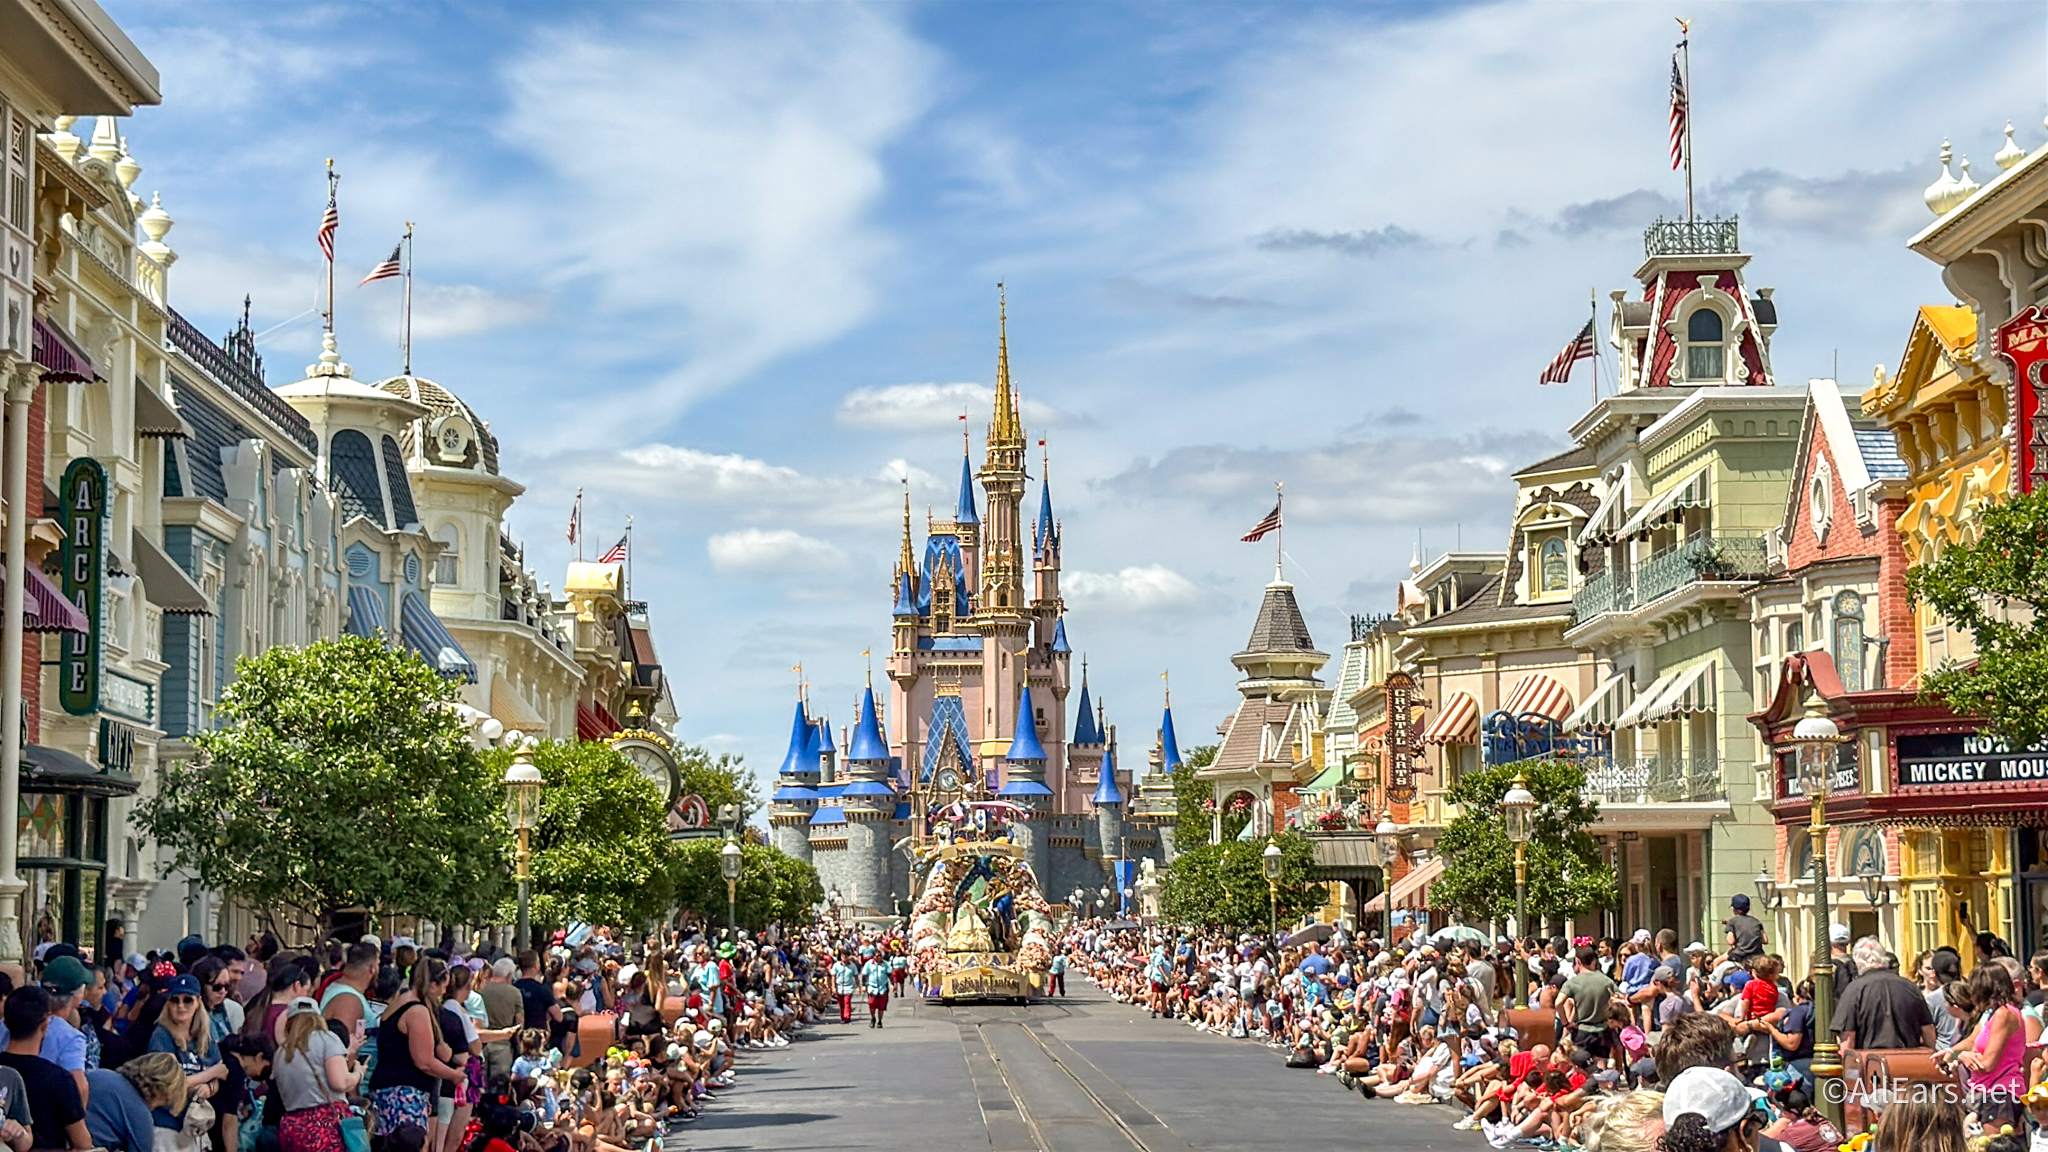
I climbed up the stairs that take you to the Walt Disney World Railroad station on Main Street. This is an excellent vantage point for taking in all that happens in Town Square from character greetings to people watching to listening to all the cheery sounds and smelling the sweet and sugary snacks. Just the thought of it makes you feel good, doesn’t it?
I stood at the railing aligning myself as best I could to the center of the shot. By turning only my upper body, I was fairly able to keep my shots in line with one another. Also, this gave me a chance to practice being animatronic. The Nikon Coolpix 7600 has a Panorama Assist program under the SCENE mode. After I took my first shot, starting at the left side of Town Square, the LCD showed me where my picture left off (faintly on the left) to help me compose the next one. It does this for each picture you take and is very handy.
After taking four shots, I was done. I made sure to reset the SCENE program to something else like Party/Indoor so as not to mistakingly shoot in the wrong setting.
These are my 4 shots and the order they were taken in starting with City Hall and moving all the way over to Exposition Hall.


A Stitch in Time
Now comes the part where you leave all the work to someone or rather something else. If your camera offers this function and most of them do, then the software that came with your camera is what you’ll use to create the actual panorama. I used Arcsoft Panorama Maker 4. You can download a free trial run from their website.
Once you’ve downloaded the photos to your computer, open the panorama software you have. Most likely it will find the photos you shot in Panorama Assist or Stitch Assist as the name changes from manufacturer to manufacturer. Arcsoft grabbed my 4 shots and after the press of a button, merged them together and created…

…a very strange morph. Click on the panoramas to view them larger.
I decided I’d attempt stitching them together with Adobe Photoshop CS3. It decided it only liked 2 of my photos but did a great job of stitiching them together.

Well, now what? I tried to create a panorama by hand in Adobe Photoshop CS3. By hand I mean I shrunk down all 4 shots and created a blank page and dropped each one in, tried my darndest to make all of the lines connect, cropped out the excess and was left with this.

What did I learn? Well, it’s a bit difficult or perhaps impossible to line up these particular images because:
a. these shots weren’t taken in a straight line as #1 and #4 are both to the side
b. there are lots of curves
c. the area isn’t a flat surface but rather builds up a small incline
d. everything moved when I wasn’t looking
Well, there you have, I’m practically perfect in every way. “Practically” being the operative word. Live and learn. I shall try this again next time.


Trending Now
TSA just banned an essential travel item from checked luggage!
Believe it or not, it is possible to make a day at EPCOT even better!
Don't forget about this change coming up for Disney World hotel guests!
Six Flags has just announced that they're CLOSING on of their theme parks entirely this...
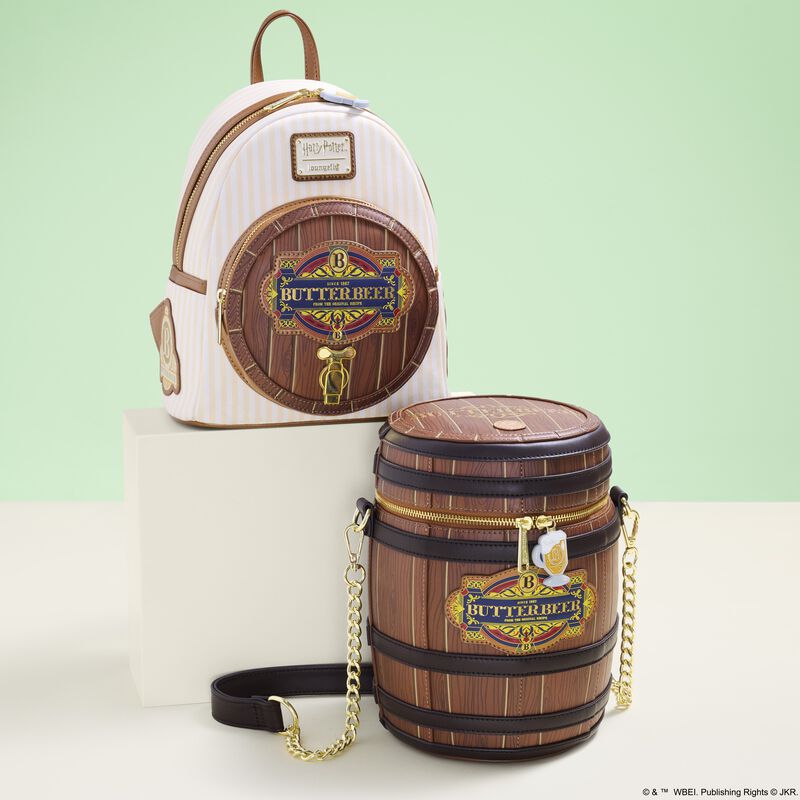
If you adore Butterbeer from Harry Potter as much as we do, these TWO new...
These Disneyland attractions will be closed for part of or all of May.
Each week, we search high and low for the best Disney deals on Amazon. Wanna...
We're sharing the hottest deals on LEGO sets on Amazon!
Need a new Disney tee? Get to Amazon NOW!
Only true Disney adults are packing these items for their Disney World trips!
By unanimous vote, the proposed Sunshine Corridor study is now fully funded.
The best upgrades available for Disney Cruise Line Passengers.
Epic Universe is amazing…but it does have a couple of flaws.
Here are a couple of things you'll want to get yourself because every Disney Adult...
We spotted three brand-new Disney Loungefly bags online, and one of them is already selling...
Every Disney adult is going to Amazon to buy their Disney park day shoes!
Let's talk about why every Disney Adult is buying an Oura Ring from Target right...
Many Disney guests don't realize they're breaking these rules.
These might be weird buys, but we aren't kidding when we say you'll need them...
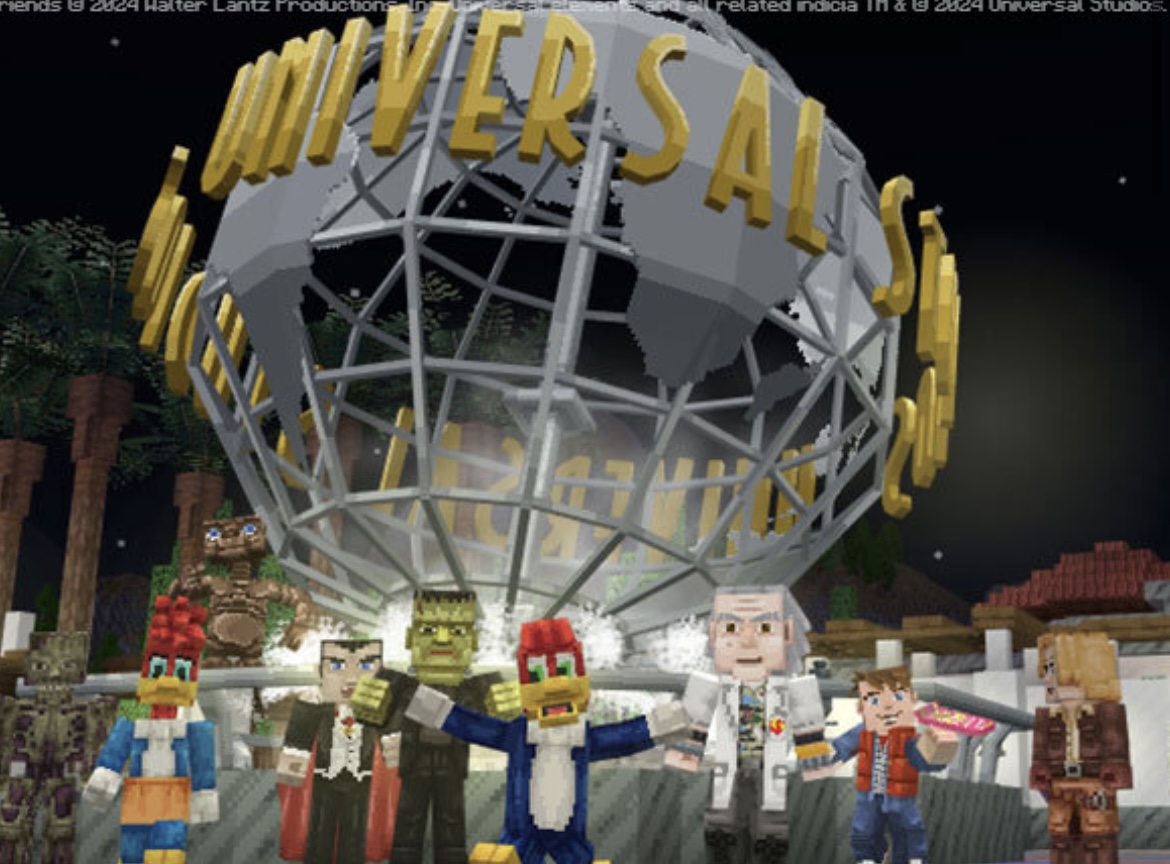
A Universal x Minecraft experience is HERE!